3D Printed Nut - June 27, 2018
Author’s Note: I wrote this back in June 2018 and somehow never published it until now, March 2019. I have since sold my 3D Printer for other reasons (life changes), but hope to acquire another eventually. Enjoy some of what I learned with it it though:
I’ve been dabbling with 3D printers for a while now, but I’ve only recently acquired my own, a Monoprice Mini Delta.
It’s a cheap, but decently solid printer, especially for the price point. It took some modification to really get it working the way I wanted, but I’ll cover that another time, once I’ve accomplished a bit more of that.
The Problem:
In 2016, I bought a car mount/wireless charger. It had two main components, an arm with a suction cup that stuck to the windshield and the charger/holder itself. They were joined by a ball & socket and tightened with a plastic nut. To keep the heavy charger and phone from drooping over the course of a drive, you had to really torque the nut down. As you might expect, this eventually caused it to fail, right along one of it’s internal seams:
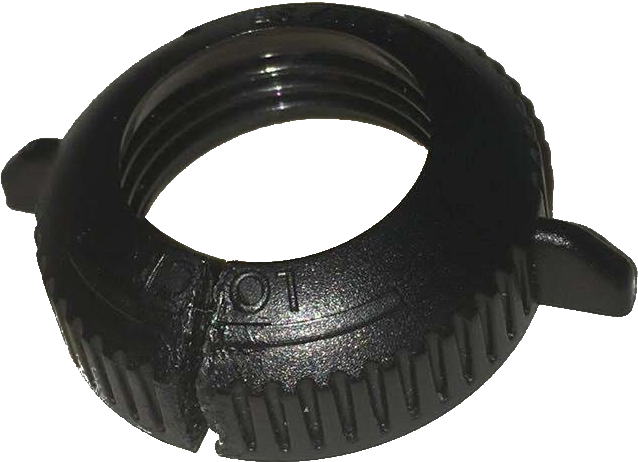
I tried a few methods of gluing it back together, but none of them took for long, all failing to take or failing to keep the part together under load. So, the mount sat in my car for almost 2 years, unused.
The Solution:
Fast forward to June 2018, when I finally decided it was time to fix it. I have some rudimentary CAD knowledge, but I’m far from an expert, so OnShape was good enough for me, despite it’s lack of some tools and rather annoying quirks.
I eventually ended up with a really rudimentary version that was a straight cylinder with a guess at the threading inside. To my surprise, the threading was actually pretty close and only required minor modifications after this.
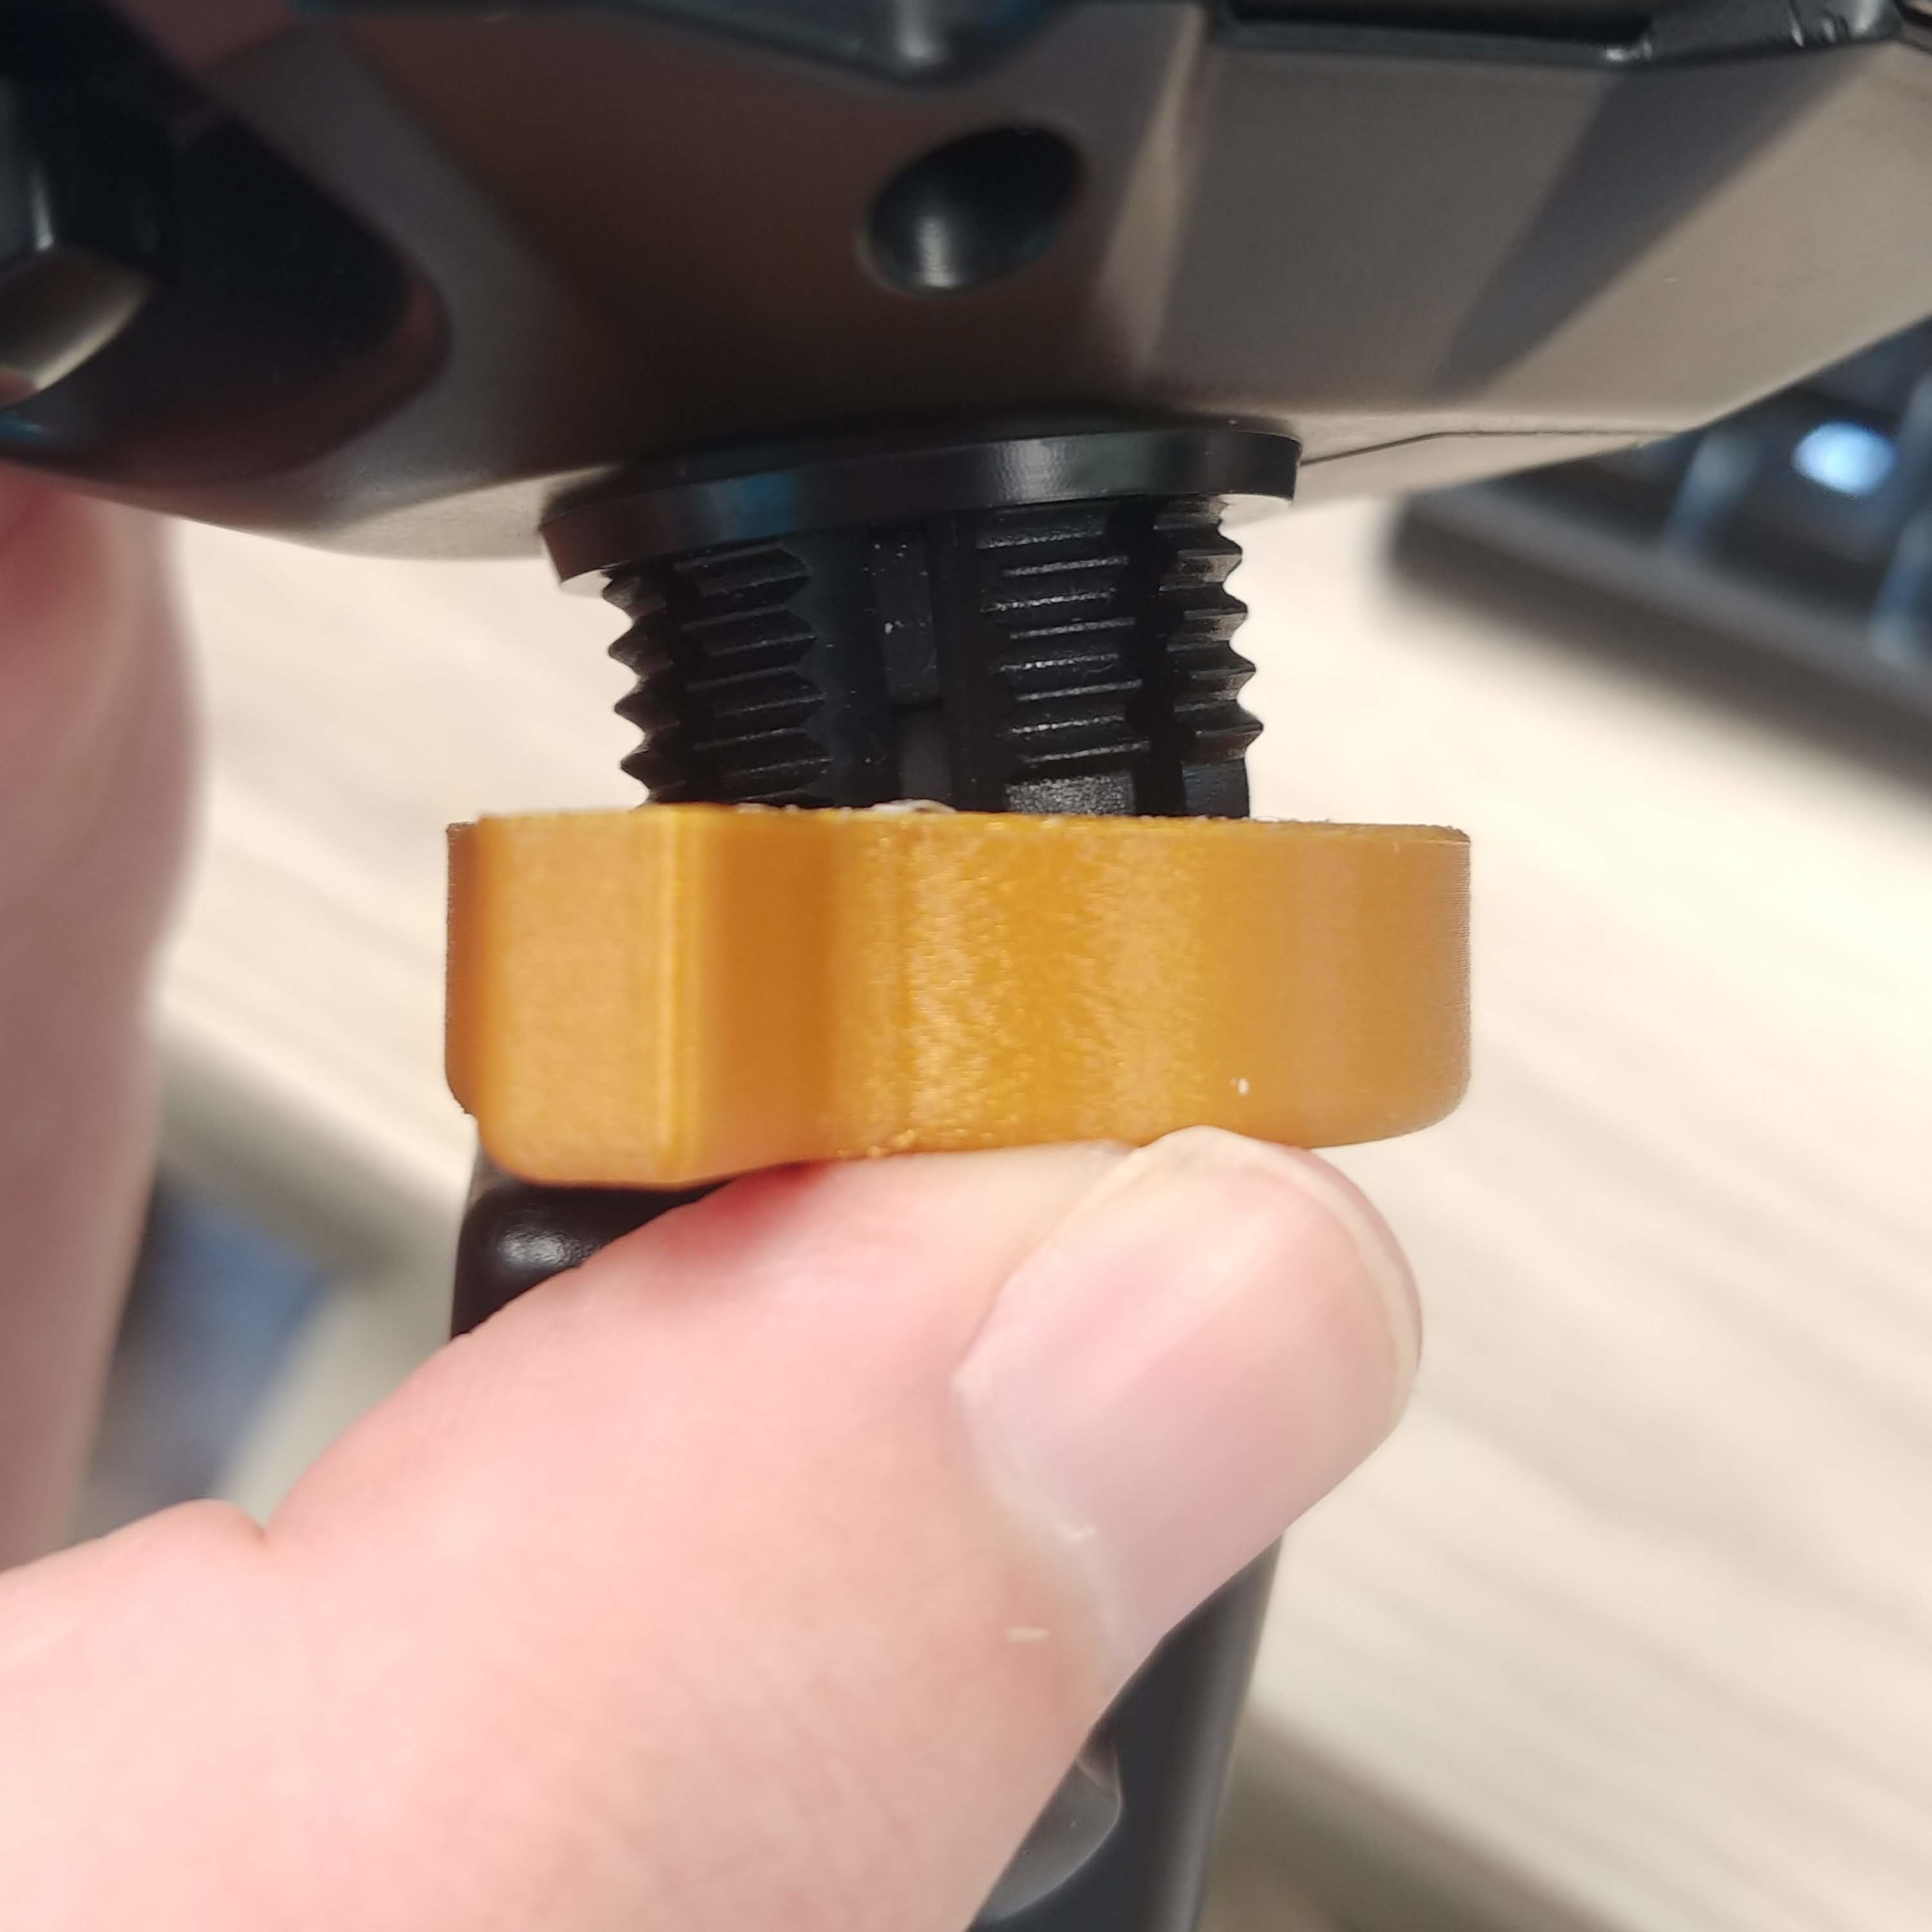
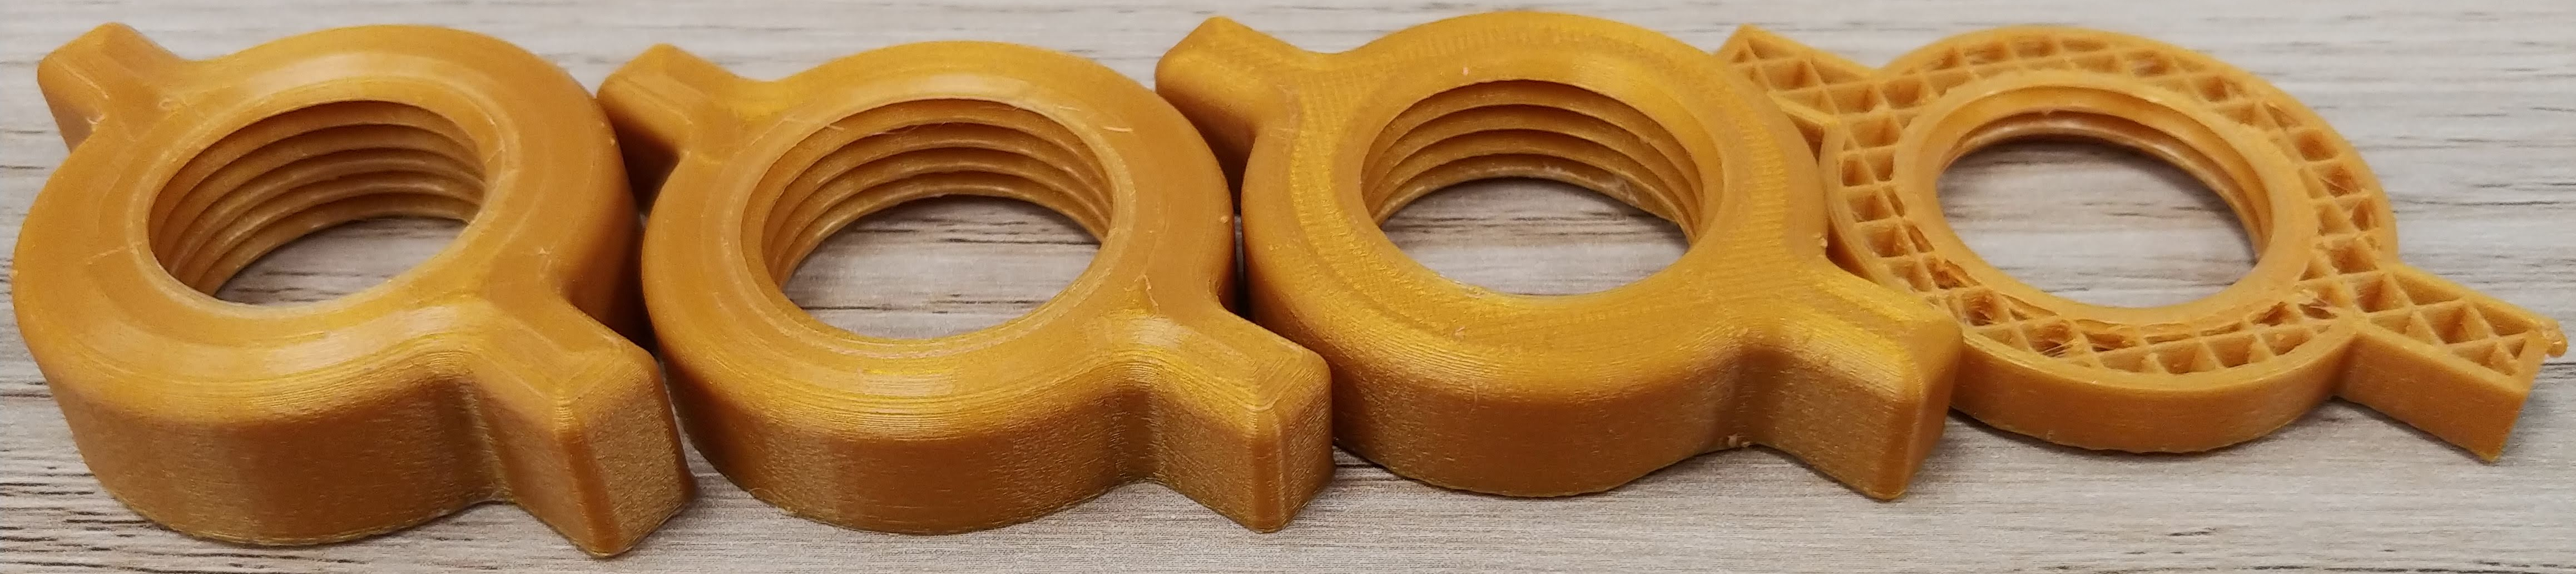
This version and the next few all fit well on the threads of the phone mount without the ball inserted into the socket, but I couldn’t get any of them to quite fit over the ball, increasing the diameter by 0.5mm each print.
One of the too-small iterations:
Eventually, I got it to the correct bottom diameter, only to realize that it couldn’t get tight enough without a smaller top diameter. Due to my poor CAD skills, this meant I had to basically completely redo the interior of the nut and the threading :(. Eventually, though, I was able to make it work:
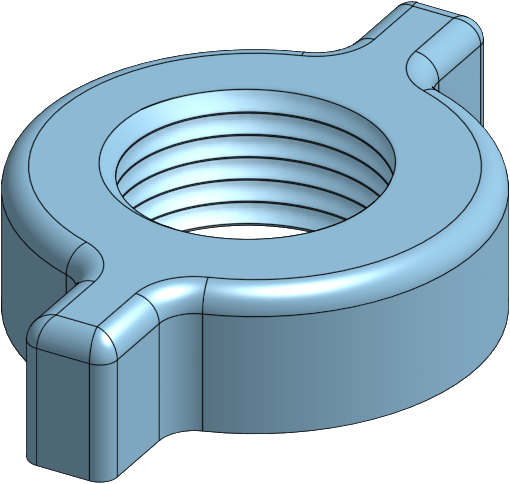
If you want the CAD file, you can get it here: Final Version
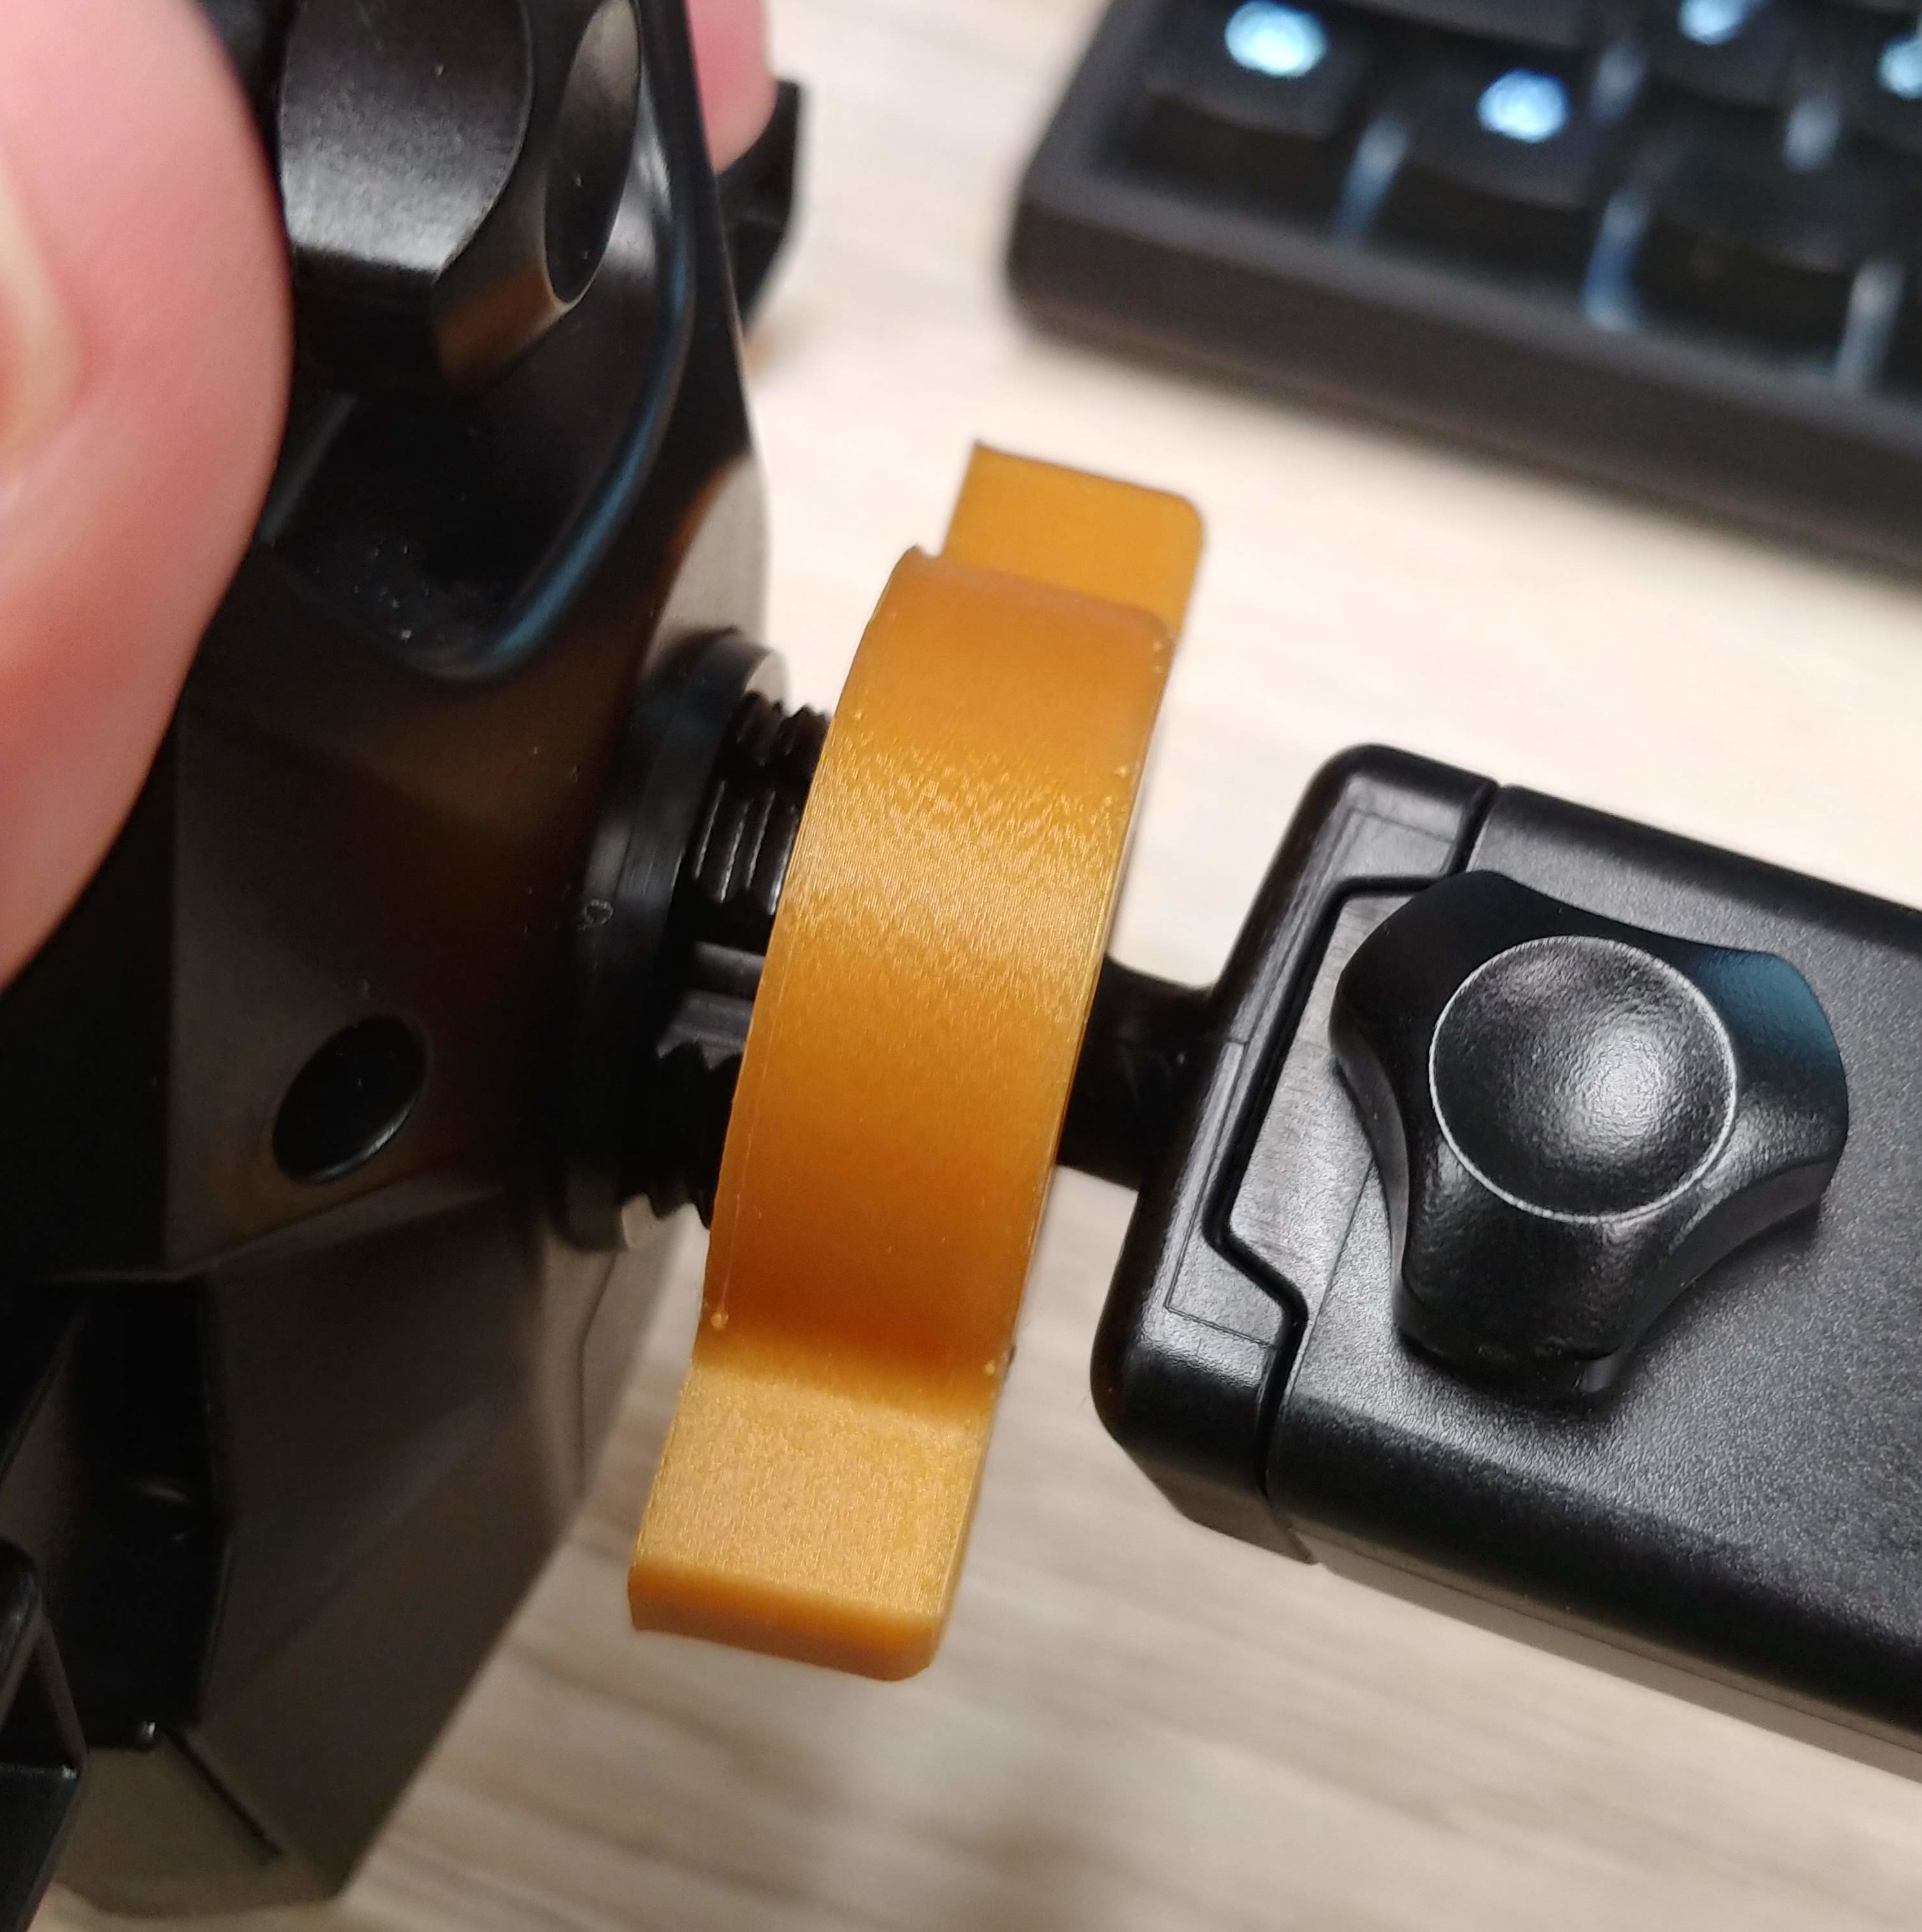
Here’s what it looks like in action:
And here is a mini-collage of the different iterations I went through:
Final Comments
I’m really happy that I was able to repair this mount without having to go buy a new one or hope that the original manufacturer was kind enough to ship me a new nut that would, in all likelihood, break after another few months.
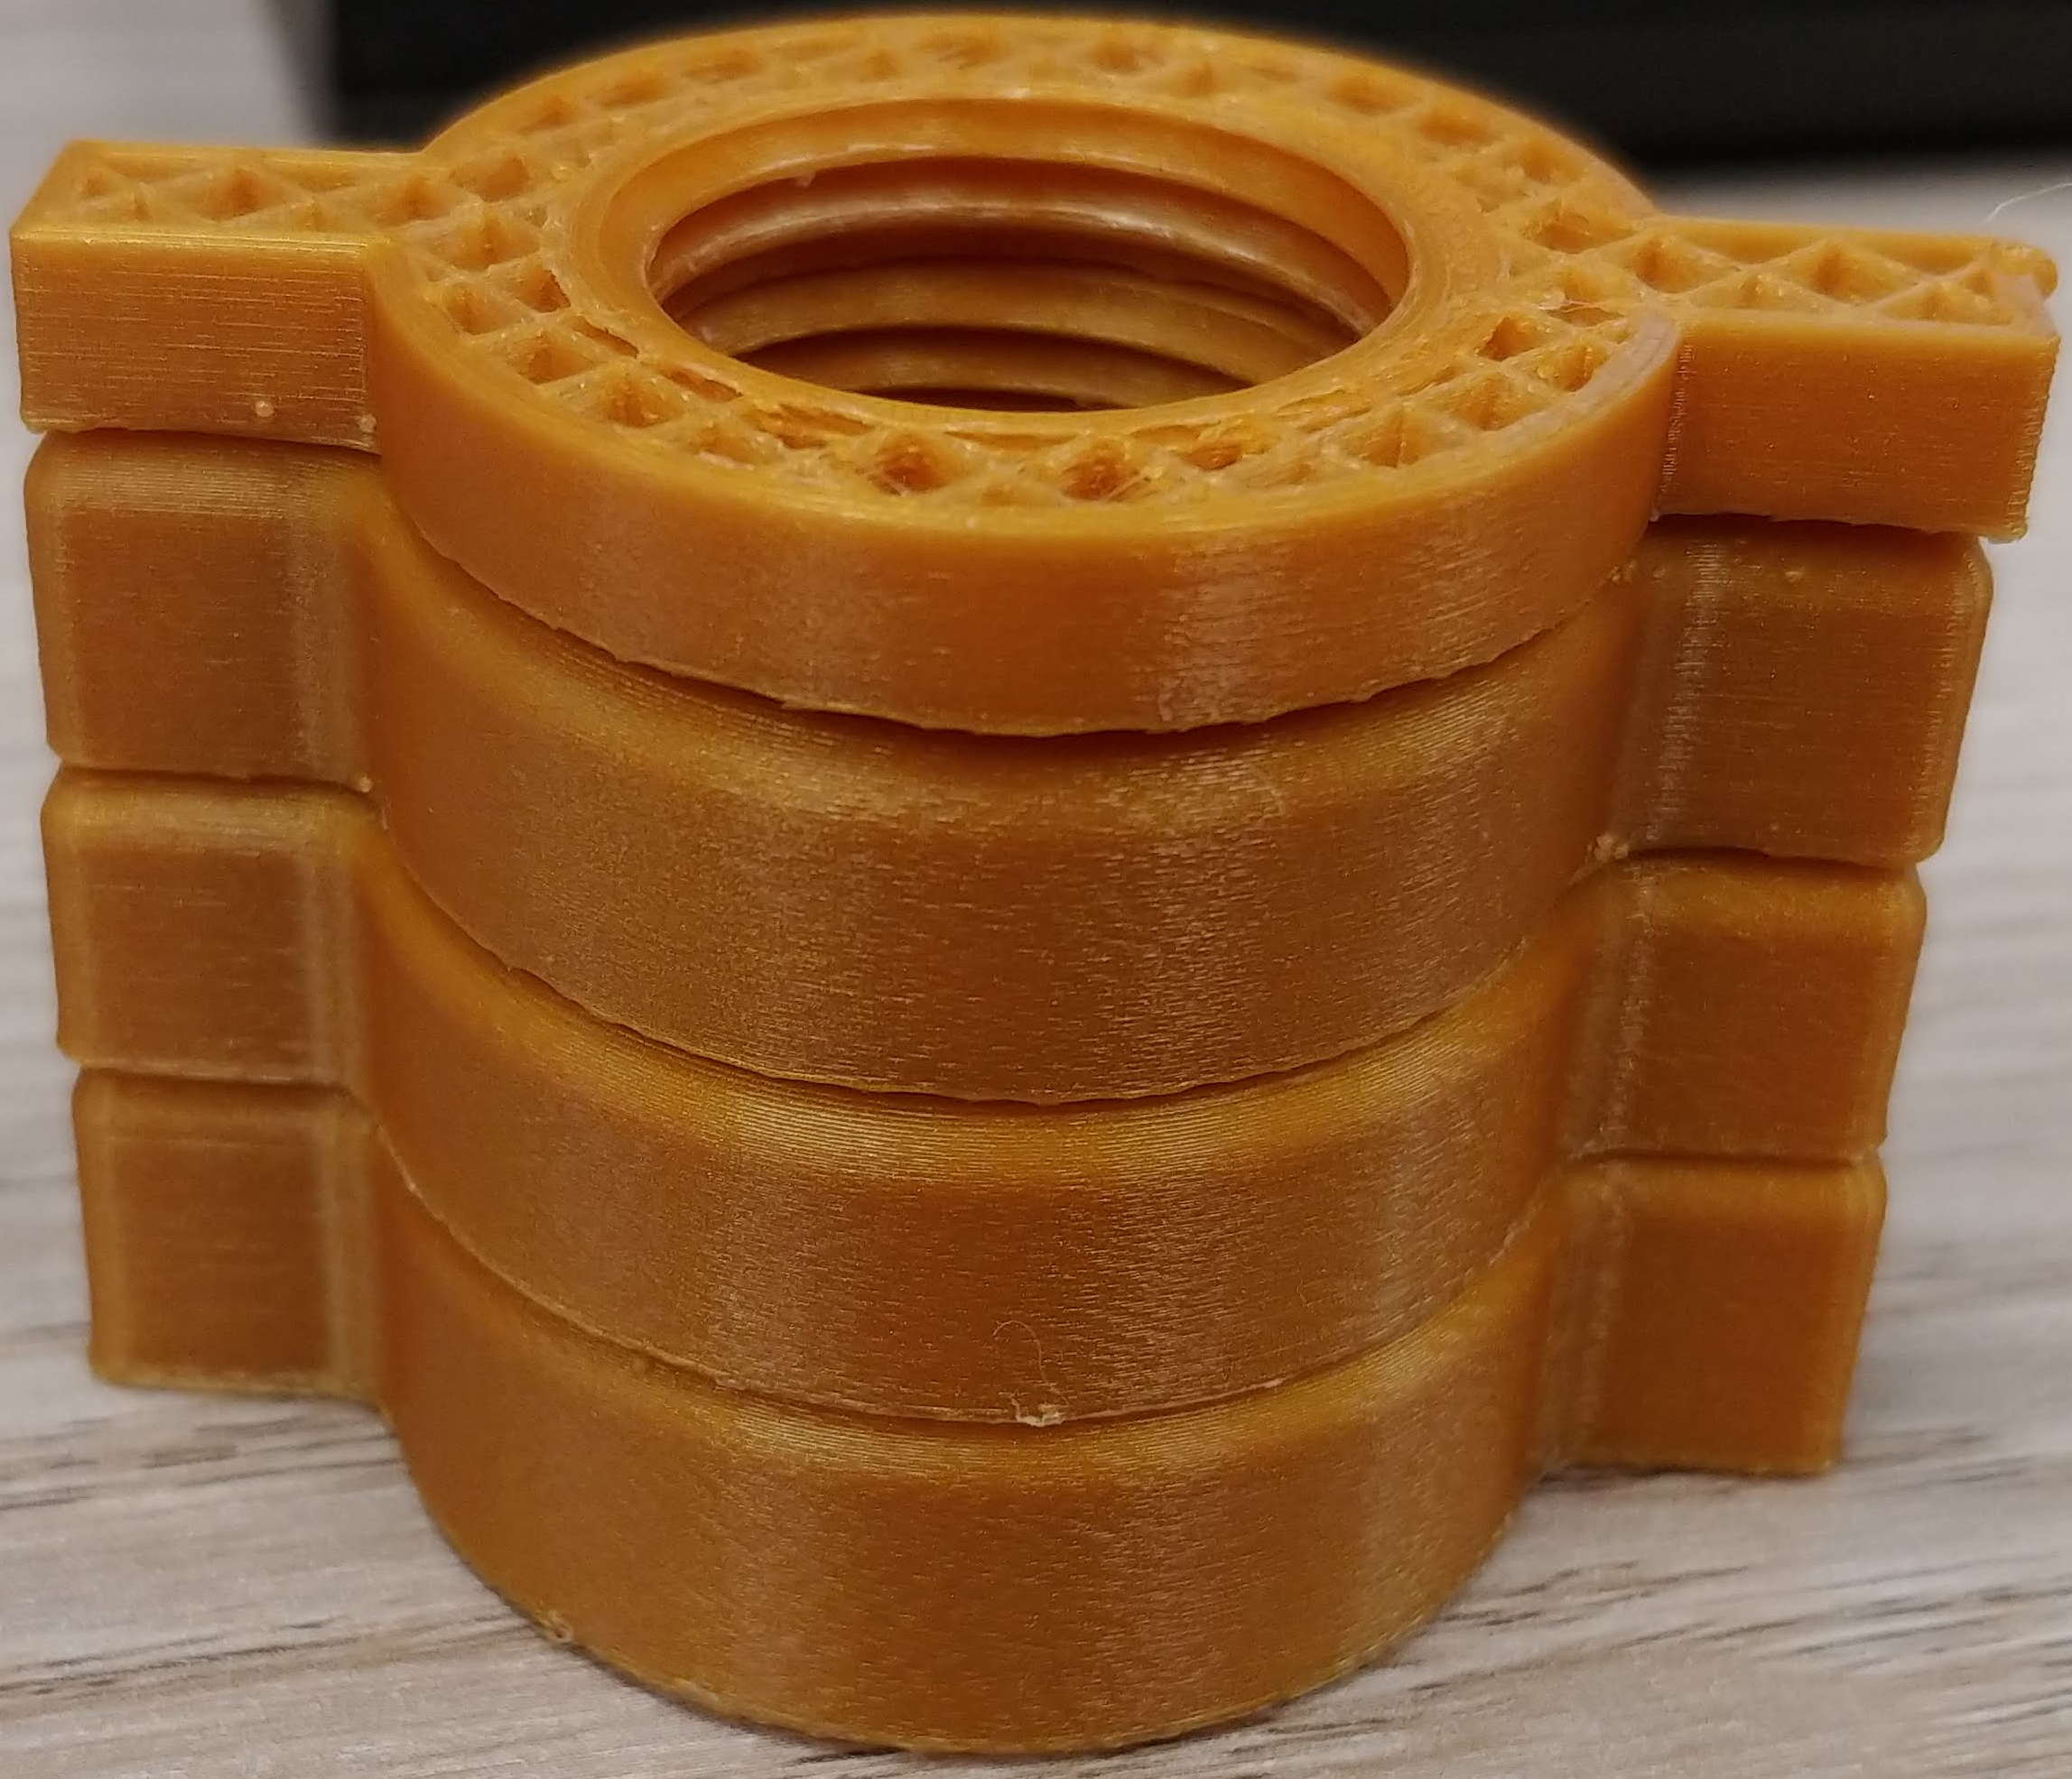
I also did find a neat use for at least one of the rejects: